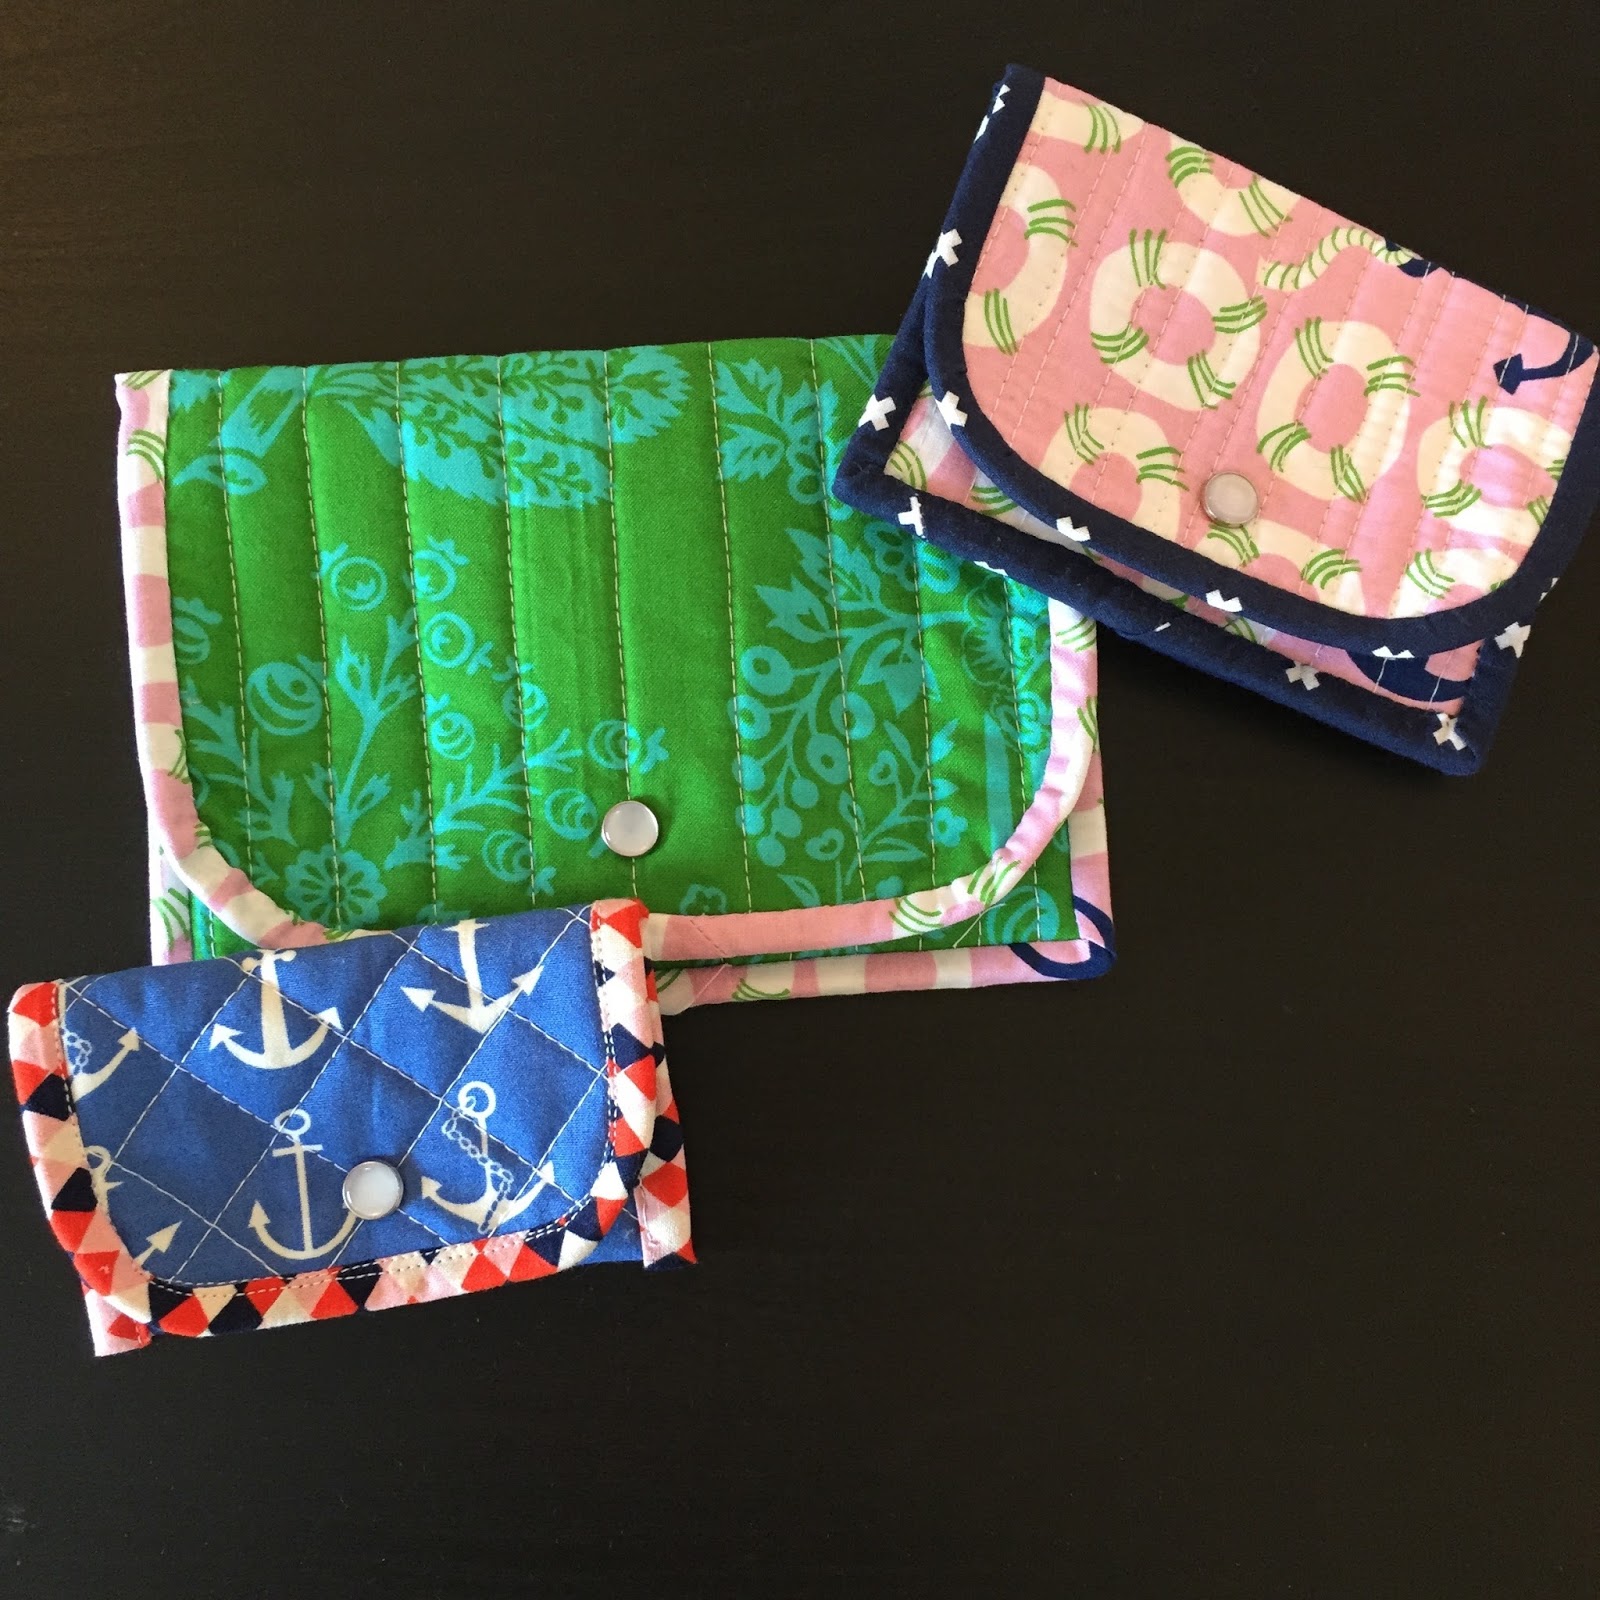
A KEY FOB for myself!
Pattern was from Michael Ann Made, Tiny Geese Key chain. It is a paper pieced pattern which makes your sewing very accurate! This was the second one I made as the first one I cut off my seem allowances....cry! It was a good learning lesson to read directions and then follow them.


I finished the CURTAINS for Virginia's room. Note to self and others...there is a reason panels of curtains cost so much. Next time I think I'd rather pay the $40 per panel. By the time I purchased my own fabric, lined it with black out and put all the hours of sewing into them I could have just bought them and been very happy too. Live and learn...

My nieces Grace and Rita came for a visit this summer and really loved to look at my sewing stuff. I got them started on making some Hexi's and Grace really wanted me to make her a new SLEEP MASK. Here's the pattern I used. Pretty quick and easy item to sew up.
Andrea needed a little pouch to put some meds in and I sewed one up for Rita too. The zippy pouches were a free pattern from KelbySews. It's called the 30 MINUTE POUCH and it didn't take much more time than that either.


A really basic KEY FOB for my sister Brittan. It's what she wanted. I offered a more in depth one but she chose these and I like how it turned out.

2 more TALL TOTES for my sewing room. I use them to hold my extra scraps. One is for low volume, one for color and I have two others not pictured for junk fabric and large scraps.

I participated in a lot of swaps this year. They were good for sewing on deadlines and helped me learn to make things I otherwise wouldn't have. However this year I'm deciding I want to sew more for myself and family and friends. That way I can pick and choose my sewing projects a little more.
This swap was call Favorite Designer Swap. My partner really liked Carolyn Friedlander's Doe line. So I made her two trivets in the shape of hexagons as well as a blocked hour basket. The little zippy in the back was an extra for her.

In exchange for the above I received this mini quilt below. It's about 24"x30" and is currently hanging on the wall in my sewing room. I do love it and I know it took the maker a lot of time!

Here are other Pouch with a View I made using a pattern from Three Owls Handmade. I am really loving sewing with the lace zippers. If you are a little intimidated by zippers may I suggest you start by using one of these. There is no need to sew the zipper between layers of fabric as you simply top stitch it into place! The one on the left- the pink on- went off in a swap that I never even heard from the recipient. I was a bit sad as it was a favorite of mine.

 I pattern tested for Wives of Whitewood with their latest pattern The Gotta Go wristlet. I used some of my favorite fabric on the exterior- Picnic from Cotton and Steel. This wristlet is packed with zips, pockets, and more. It really is an all in one pouch.


If you want to see this video you'll have to hop over to my Instagram Feed to check it out.

Another swap- The Dumpling Pouch. This is the larger of the two sizes. I sent this one out and received a cute little navy blue one that I'm currently using for my hand stitching supplies when I travel.

Ginny's room need a hair bow holder so I made The Circle Box after I won the pattern and some of the fabric from Stitch Supply Co. The pattern is from Simple Love Quilts. She has a square box and a hexi box too. I just bought the square box and I'm hoping to make more of these. They are all hand sewn.

My first Mini Quilt I ever made was for a swap. A Bonnie and Camille Swap. For those who are no fabric hoarders B&C is one that is adored and coveted in our circle. I made the STARLIGHT QUILT. The rules of the mini swap were: 1. you have to use B&C fabric 2. your partner gives you their three favorite patterns and you choose one to make 3. no extras needed to send in the package. While this was a lot of work to make this mini, it was actually the lesser of the 3 evils my partner suggested. Her other two patterns involved curves- I haven't and don't plan to attempt curves any time soon.


This was again a hard one to send out. I estimate I spent about 8 hours making this and as it was my first one it would have been so fun to keep it but I was really glad when my partner was super happy with it.
I received this large swoon block in exchange. I Like it a Lot and it was exactly what I was hoping for. I wanted to hang it in my living room but Marvin said no. Moses thought it was "pretty cool, mom". It's hanging in my sewing room now. I'm getting a rather good size collection now.

I made this little wristlet pouch for myself and used it almost all summer. I added a little pocket on the inside for my cards and it was very easy to throw into the diaper bag and go. The pattern is from Pink Door Fabrics and it's called the Curvy Clutch. I made one for my mom too.

This little 9 patch mini below has a cool story and I should write about it sometime. But let's just say for now that I finished the binding on this and it's now hanging in my sewing room.

Two more key fobs for swap extras and one for Andrea for Christmas.

I think since I've started sewing Marvin has made a side comment about how he just wants a basic wallet. For Christmas he got his wish. I used Anna Graham from Noodlehead's Basic Boys Wallet.
It's linen on the outside, has 4 card slots and the money pouch is lined in dinosaur print. It's a little joke as Marvin profusely states he does not believe in dinosaurs! However he loves the wallet and says it's exactly what he was looking for.


Then I made myself a new wallet The Double Zip Wallet. I received this book Handmade Style by Anna Graham of Noodlehead in a Instagram swap called #GetYourQuiltyWishGranted. It was an awesome swap. Basically I fulfilled peoples wishes and someone fulfilled mine- to get one of these books.
It has replaced my curvy clutch I made earlier this summer as my daily wallet. I love it! It was a metal snap and is perfect for holding my money, cards, and cell phone!


A final finish for the year were a few BIBS for my Mother in Law. I think if anyone else ever wants bibs- I'll just buy them...HA! They are made out of laminated fabric on both sides so they are easy to wipe off but that also made them harder to sew. The pattern I used was Reversible Bib Pattern in Toddler Size. And as you can see below they fit a toddler well! He was a fun little model.